Here's how to do it...
First, find a pair of pants that fits your child well...something that is roomy in the waist and buttocks region will help you later. Fold the pants in half and lay them on the folded fabric.

You'll notice in my picture that I put the "crotch" of the pants AWAY from the fold...this makes it so you don't have to sew a side seam on the side of the pants. Second, you'll also notice that I folded the fabric WAY down so as not to waste any.
Cut around your pants leaving about 1 inch all the way around to allow for the seam allowance and to make them nice and roomy.
Now that you've got the one side you're going to do it again to make the other side. You'll notice I used the one we just cut...that is so that your sides match up better than when you were doing it with the "pattern" pants.

Notice that the crotch still points away from the fold on the fabric you'll be cutting.
Now you have TWO sides of the pants.

Now you'll cut a piece of fabric from your coordinating fabric that is as wide as the pant leg when its laid out and about 3 inches wide...you can make it wider or thinner depending on how long you want your child's pant to be AND how much fabric you want to have showing. Pin them right sides together. And stitch along the bottom to connect them.
When you're done it will look like this

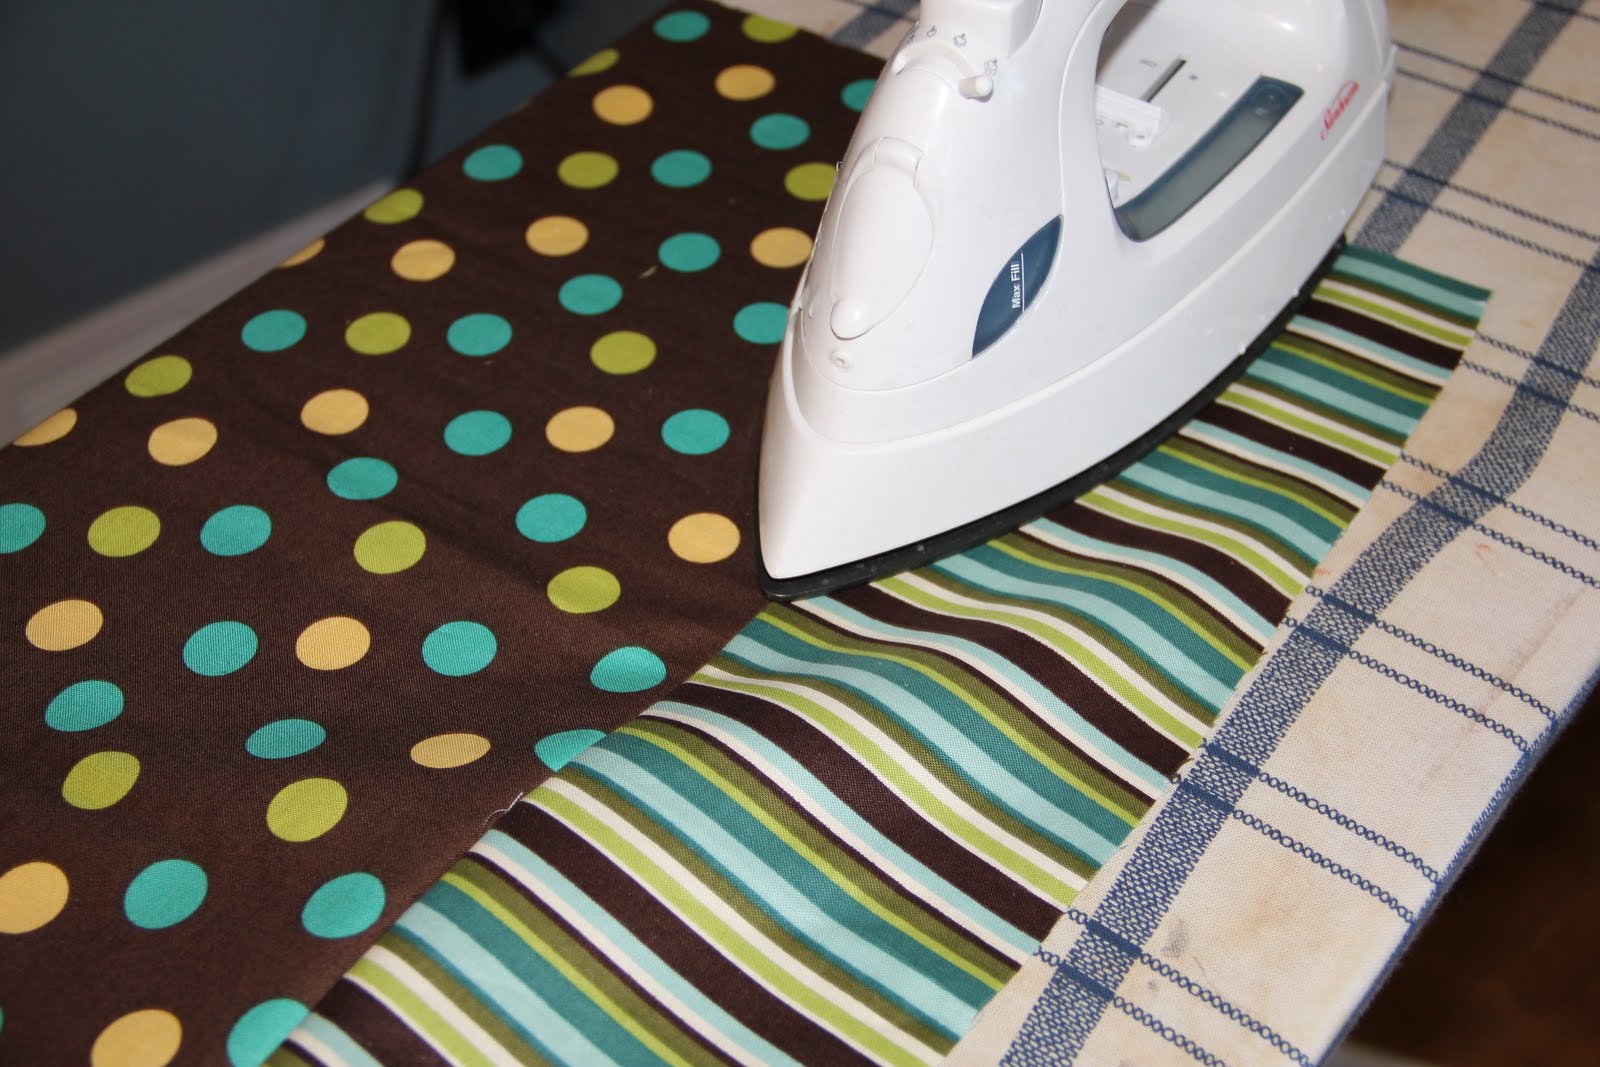
And you'll need to lay it on the ironing board and turn it down and press it flat.

Next you'll lay the two sides of the pants with right sides together and pin the crotch area and sew it together.

Then you'll fold them the other direction and match up the insides of the legs. Pin them and sew them.

I'd say those are starting to look suspiciously like pants, aren't they?!
This is the point where you'll want to try them on your child...make sure that they are roomy enough in the hips and butt and make a mark on the pant where it lands on their hips...this will help you a lot with making sure the elastic lands on a comfortable place. At this time you'll also cut your elastic. Take it and put it around your child's waist so that it is snug, but not stretched...give yourself an additional 1.5 inches for overlapping, then cut.
Now, depending on how high (or low) the waist was on your child you'll need to fold it over to make a space to put your elastic...this is shown with two fold overs...be sure to iron it flat, then pin into place before sewing...it will make it easier, I promise. ;)


Next, sew where the pins are leaving a space between your seam and the top of the pant for the elastic to go. Also, you'll need to leave a space between where you start and where you stop that is just big enough for the safety pin and elastic to fit through.

Then, take the cut elastic and put a safety pin at the one end to act as needle as you thread it through the hole.


When you're done threading you'll overlap it and then sew it together...it is difficult to see in the photo, but I made a rectangle over the overlapped area...You want to make sure that is VERY secure.
Next we'll do the cuffs...take and turn them up according to your child's height...we set our to just graze the tops of their feet. Again, iron it into place, then pin, then sew.


Turn the entire thing right side out, iron as necessary, and enjoy!

No comments:
Post a Comment